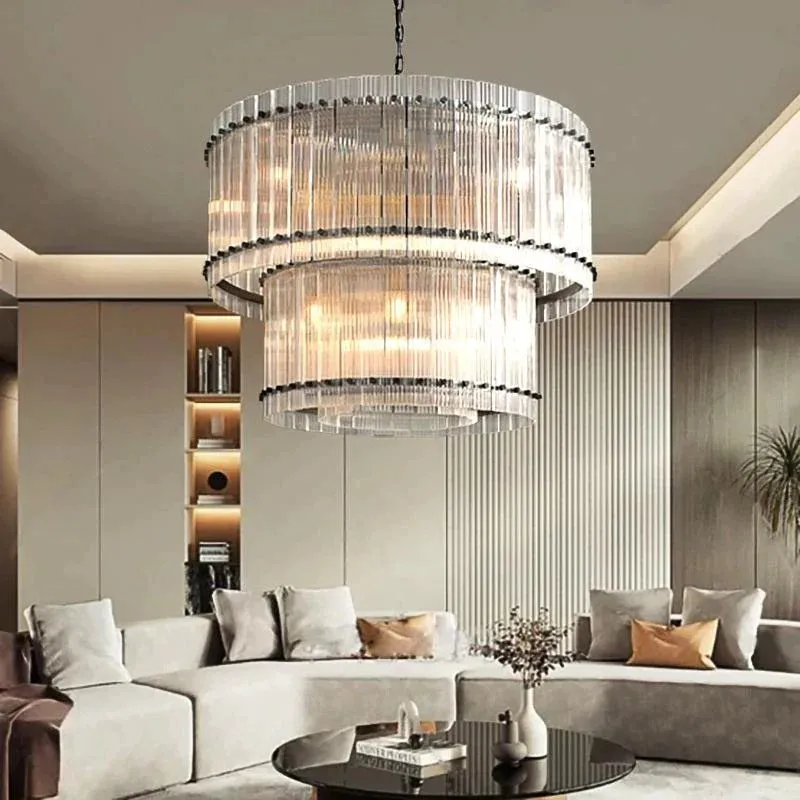

Mirnaia Round 3-Tier Chandelier




Shipping & Delivery
Thank you for choosing Fullstarlighting.
We offer free standard shipping on all orders. Order delivery time includes both order preparation time and transportation time.
Delivery windows may vary depending on product availability, item size, customization requirements, packaging requirements, shipping method, carrier schedule, customs clearance, and final-mile delivery conditions.
Warehouse & Fulfillment
To improve delivery efficiency, Fullstarlighting works with strategic warehouse and fulfillment partners in the United States and Hong Kong.
For customers in the United States, eligible in-stock items may ship from our U.S. warehouse or fulfillment network.
For customers in the United Kingdom and other international regions, certain items may ship from our Hong Kong warehouse depending on product specifications, voltage requirements, plugs, wiring, size, and availability.
United States Delivery Windows
Fast Delivery Items
For items marked as Fast Delivery or warehouse in-stock, shipping time is typically 4–6 business days after the order is processed.
Standard In-Stock Parcel-Size Items
Most standard in-stock, parcel-size items are prepared within 3–7 business days after order confirmation.
After shipment, parcel delivery typically takes 6–12 business days, depending on destination and carrier schedule.
Pre-Sale or Made-to-Order Light Fixtures
Pre-sale, made-to-order, or customized light fixtures generally require additional preparation time.
Estimated preparation time: 2–3 weeks
Estimated shipping time: Approximately 3 weeks after shipment
The final shipping method will be determined based on fixture size, weight, packaging requirements, destination, and carrier availability.
Pre-Sale or Made-to-Order Furniture
Pre-sale, made-to-order, or customized furniture generally requires additional preparation and freight delivery time.
Estimated preparation time: 2–3 weeks
Estimated shipping time: 4–6 weeks after shipment
Large furniture pieces are typically shipped by ocean freight, truck freight, or scheduled freight delivery to help protect the structure, finish, and materials during transit.
Shipping Methods & Charges
Air Freight
Air freight is generally used for eligible smaller lighting fixtures or selected items when conditions allow.
After customs clearance, delivery may be completed by FedEx, UPS, or another final-mile carrier.
Tracking usually becomes active after customs clearance or carrier handoff.
For standard air freight shipments, applicable shipping costs and import duties are covered by Fullstarlighting.
Express Shipping
Express shipping may be available for urgent projects or eligible items.
Express shipping offers faster delivery with more complete tracking visibility.
Additional express shipping charges may apply.
Customers are responsible for express shipping fees and any applicable import taxes, VAT, duties, or clearance fees unless otherwise confirmed in writing.
Ocean Freight + Final Mile Delivery
Ocean freight is generally used for large, heavy, fragile, furniture, or oversized items.
For oversized packages exceeding 39 inches, our standard shipping method is usually ocean freight or oversized freight service.
Ocean freight transit typically takes 4–6 weeks after shipment, depending on destination, carrier schedule, customs clearance, and local final-mile delivery conditions.
Tracking may not update while the shipment is at sea and may resume after customs clearance or final-mile carrier handoff.
For standard ocean freight shipments, applicable shipping costs and import duties are covered by Fullstarlighting.
Duties, Taxes & Special Services
For standard air freight and ocean freight shipments, applicable shipping costs and import duties are covered by Fullstarlighting.
For express shipping upgrades, customers are responsible for express shipping fees and any applicable import taxes, VAT, duties, or clearance fees unless otherwise confirmed in writing.
Additional taxes, assembly costs, remote-area delivery fees, white glove service, installation service, or other special service fees are not included in standard shipping and will be the responsibility of the customer.
If you require white glove service, please contact us before placing your order. Additional fees will apply.
Order Confirmation & Tracking
After placing your order, you will receive an order confirmation email.
Once your order has shipped, we will send a shipping confirmation email with tracking information when available.
Tracking details may take up to 24 hours to become active after carrier handoff.
For ocean freight shipments, tracking may not update during sea transit and may resume after customs clearance or final-mile carrier handoff.
Please make sure your shipping address and contact information are correct before placing your order.
Once an order has been processed or is in transit, the shipping address may not be changed and cancellation may no longer be available.
Delivery Dates
All shipping and delivery windows are estimates only.
Actual delivery time may vary due to product availability, order volume, production schedule, customization requirements, shipping method, carrier schedule, customs clearance, weather conditions, remote-area delivery conditions, or other factors outside our control.
Urgent Projects & Delivery Planning
For time-sensitive projects, eligible smaller lighting fixtures may be available for air freight or expedited shipping when conditions allow.
Additional charges may apply based on item size, weight, destination, carrier availability, and requested delivery timeline.
Please contact our Fullstarlighting Concierge Team before placing your order to confirm current availability, shipping options, and a project-specific delivery window.
Breakage & Damaged Parts
We take great care in packing each item securely. However, damage may occasionally occur during transit.
If your product or any component arrives broken or damaged, please contact us immediately with photos of the product, packaging, and shipping label.
For verified shipping damage, Fullstarlighting will provide replacement parts or after-sale assistance according to our policy.
Contact Us
For shipping questions, urgent project timelines, air freight options, freight coordination, or delivery planning, please contact our Fullstarlighting Concierge Team.
Email: support@fullstarlighting.com
Phone: +1 (971) 379-7567
Online Concierge Support: 24/7
Phone & Office Hours: Monday–Friday, 9:00 AM–7:00 PM Pacific Time
Returns & After-Sale Support
We support eligible returns within 30 days of delivery according to our Return & Refund Policy.
If your product or any component arrives damaged, please contact us immediately with photos of the product, packaging, and shipping label.
For verified shipping damage or product quality issues, our team will provide replacement parts or after-sale assistance according to our policy.
Installed, customized, or used products may be subject to return limitations. Please review our Return & Refund Policy or contact our Concierge Team before requesting a return.
FAQs
Need help choosing the right size, finish, light source, hanging height, or furniture configuration?
Our Concierge Team can help with product details, customization options, installation questions, shipping methods, and project timelines.
For more information, please visit our FAQs page or contact us at support@fullstarlighting.com.
Customization
We offer customization services for selected lighting and furniture pieces.
Lighting customization may include size, finish color, number of light sources, hanging height, chain length, rod length, cord length, glass style, crystal detail, alabaster detail, and color temperature.
Furniture customization may include size, wood finish, stone top material, upholstery, hardware finish, shelf layout, cabinet configuration, and other design details.
Please contact our Concierge Team with the product link, preferred specifications, and any reference photos or drawings. Our team will help review your request and provide a suitable customization solution.
Premium In-Home White Glove Delivery
Premium In-Home White Glove Delivery
Your custom-crafted pieces deserve careful handling from the moment they arrive at our local delivery terminal to the moment they are placed in your home. Once your order is ready for final delivery, our delivery partner will contact you to schedule a convenient delivery appointment.
White Glove Delivery applies to eligible oversized furniture items as indicated at checkout or on the product page.
What’s Included
Scheduled Appointment Delivery
Your delivery will be scheduled in advance, typically within a 4-hour delivery window. Our delivery partner may contact you before arrival with updated timing whenever available.
Room-of-Choice Placement
A professional two-person delivery team will carry your eligible items into your home and place them in the room of your choice. This service includes up to two standard flights of stairs, provided the path is safe, clear, and accessible.
Unpacking & Packaging Removal
Your items will be carefully unpacked in the room of choice. The delivery team will remove standard packaging materials from your home upon completion. Recycling or disposal methods may vary by local carrier and municipal guidelines.
Delivery-Day Inspection
Please inspect your items with the delivery team before signing the delivery receipt. If you notice any visible damage, missing pieces, or concerns, please note them on the delivery receipt and contact our support team as soon as possible.
Important Delivery Guidelines
Assembly & Installation Not Included
Our White Glove Delivery service does not include furniture assembly, wall mounting, anchoring, electrical work, plumbing, lighting installation, or hardwired fixture installation. For lighting, wall-mounted items, mirrors, vanities, or pieces requiring specialized installation, we recommend working with a qualified local professional or licensed electrician where applicable.
Clearance & Space Preparation
Please measure your item dimensions and delivery path in advance, including doorways, hallways, stairways, elevators, and tight corners. The delivery team cannot remove doors, move existing furniture, dispose of old furniture, or clear rooms. Please ensure the delivery path and final placement area are clear before your appointment.
Access Requirements
Please notify our support team at least 72 hours before your scheduled delivery if your building requires a Certificate of Insurance (COI), freight elevator reservation, loading dock access, gate code, parking instructions, or any other special delivery requirements.
Stairs, Elevators & Restricted Access
Deliveries involving more than two flights of stairs, narrow access points, limited parking, gated entry, remote locations, or other non-standard conditions may require additional review and may be subject to additional fees or delivery restrictions.
Adult Signature Required
An adult 18 years or older must be present during the scheduled delivery window to accept, inspect, and sign for the delivery.
Missed Appointments & Rescheduling
Please contact us as early as possible if you need to reschedule. Missed appointments, inaccessible delivery locations, or cancellations made less than 48 hours before the scheduled appointment may be subject to a rescheduling fee.
Fit Responsibility
Customers are responsible for confirming that items will fit through all access points and into the desired room. If an item cannot be delivered safely due to space, access, or building restrictions, it may be returned to the delivery terminal and additional fees may apply.


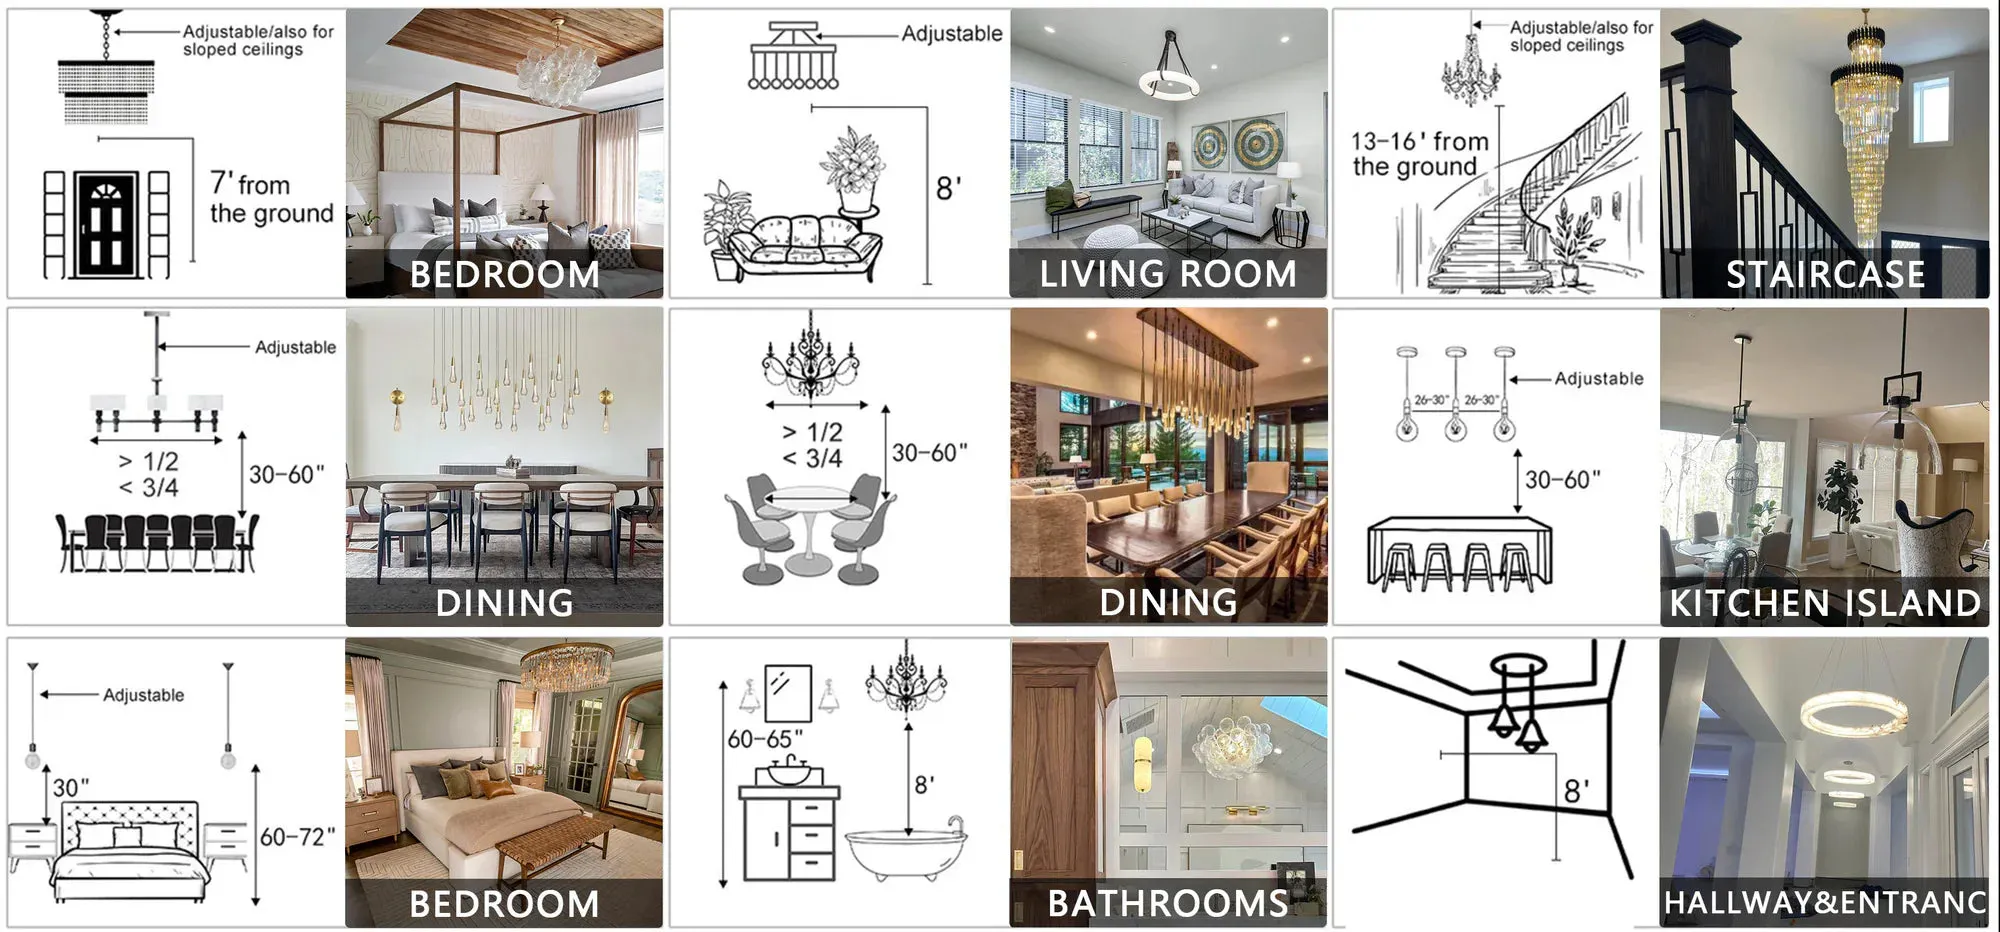
Size Guide
What Makes Our Lighting Different?
| Material | Fullstarlighting Standard | Typical Alternative |
|---|---|---|
| Metal Frame |
Premium Standard
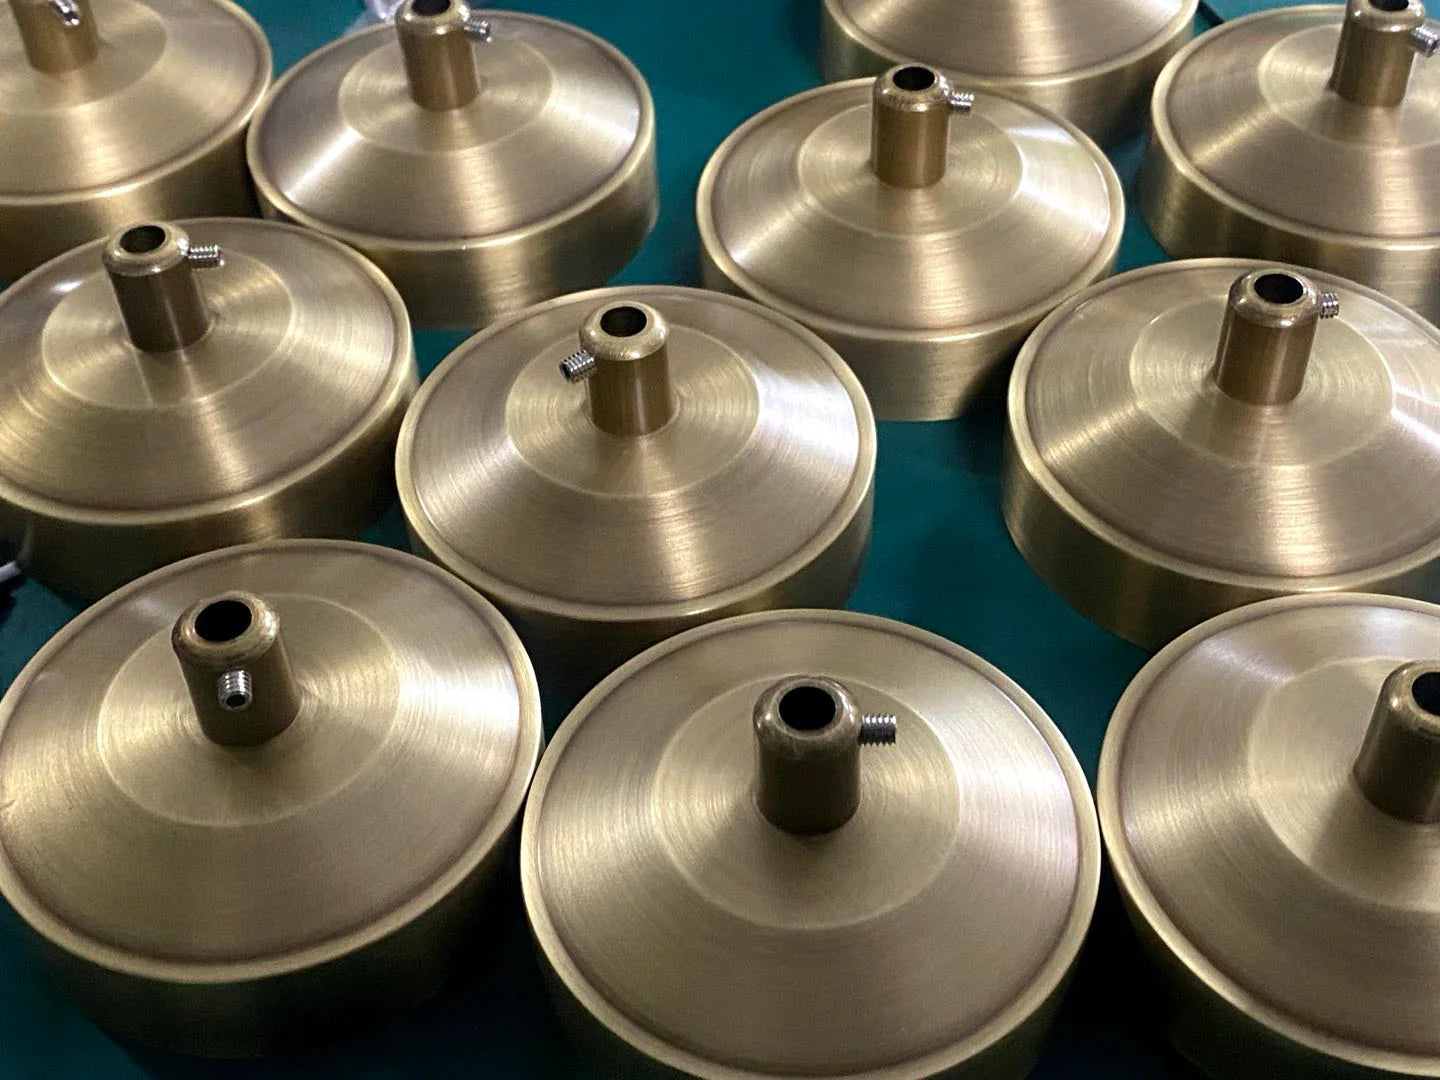
Solid Brass Construction
Corrosion-resistant, structurally stable, and designed for long-term use in premium lighting fixtures. |

Common Alternative
Iron or Thin Metal
More likely to rust, deform, or lose surface quality, especially in humid environments. |
| Crystal |

Premium Standard
K9 Crystal
Selected for clarity, clean refraction, and a refined sparkle that enhances the luxury lighting effect. |

Common Alternative
Low-Grade Crystal
Often cloudy, scratch-prone, and less effective at creating a brilliant reflective light effect. |
| Glass Shade |

Premium Standard
Hand-Blown Glass
Crafted for smoother curves, balanced thickness, and elegant light transmission. |
Common Alternative
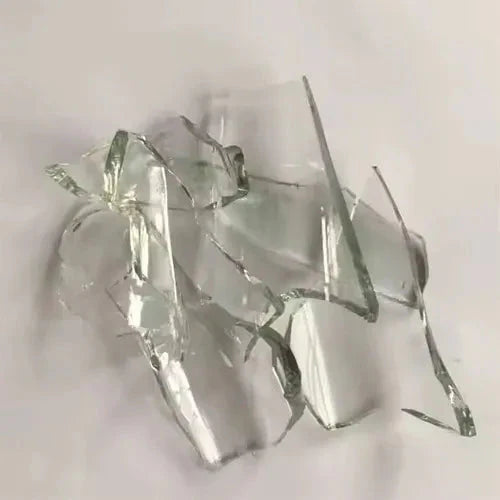
Ordinary Molded Glass
May show uneven thickness, rougher edges, weaker texture, and less refined light diffusion. |
| Surface Finish |
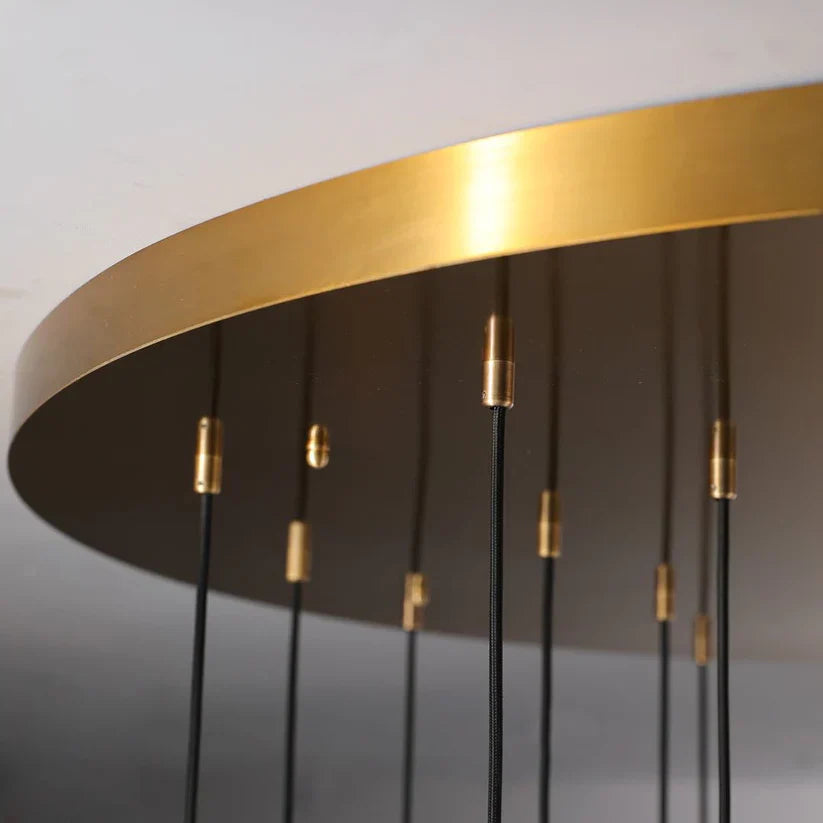
Premium Standard
Fine Sanding + Anti-Rust Coating
Multi-step surface treatment creates a smoother touch, cleaner color, and stronger long-term protection. |
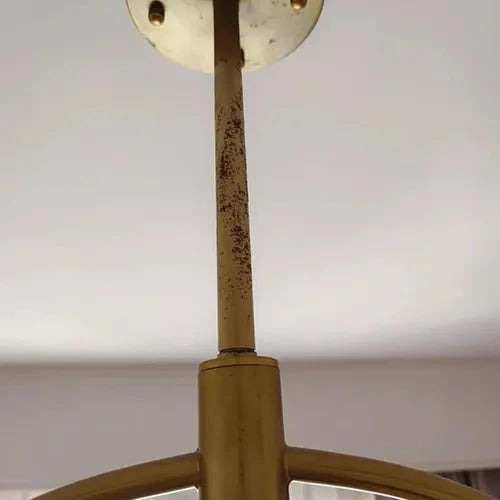
Common Alternative
Basic Paint or Plain Plating
More likely to scratch, fade, oxidize, or appear flat after regular use. |
What Makes Our Furniture Different?
| Category | Fullstarlighting Standard | Typical Alternative |
|---|---|---|
| Wood Structure |

Premium Standard
Solid Wood, Hardwood Framework & Selected Veneers
Crafted with solid wood or hardwood framework, selected veneers, and refined joinery details for lasting stability, natural grain depth, and a more substantial furniture feel. |
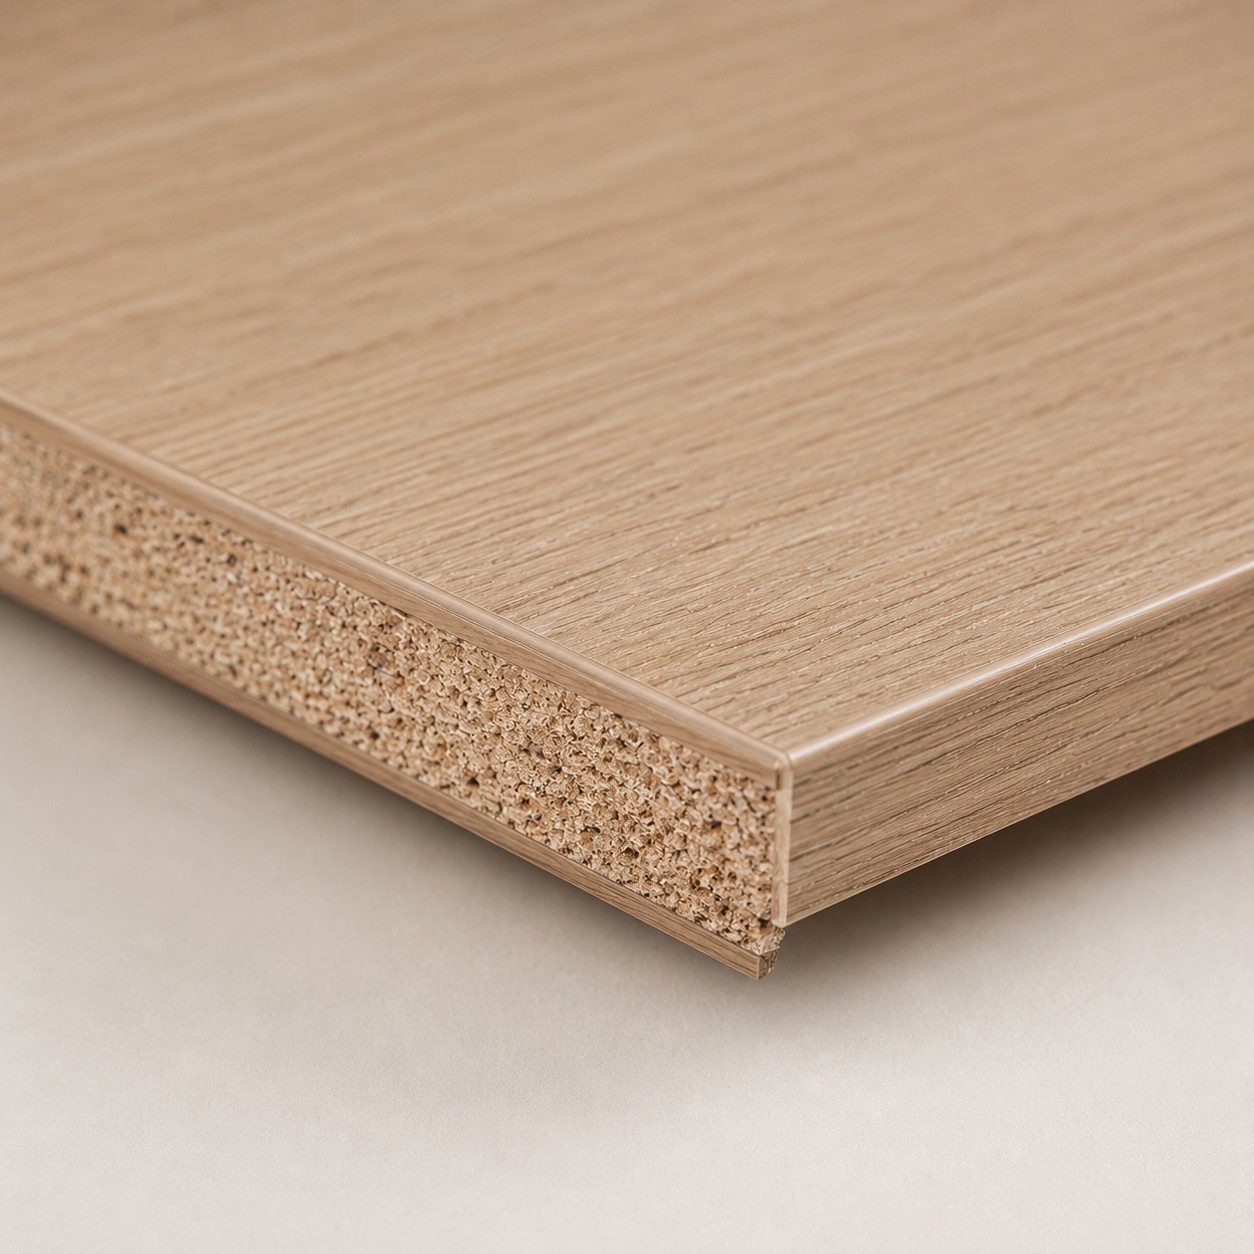
Typical Alternative
Thin Board or Basic Laminate Construction
Often made with thinner board or basic laminate construction that can feel less substantial and may loosen, chip, or wear faster over time. |
| Stone Surface |
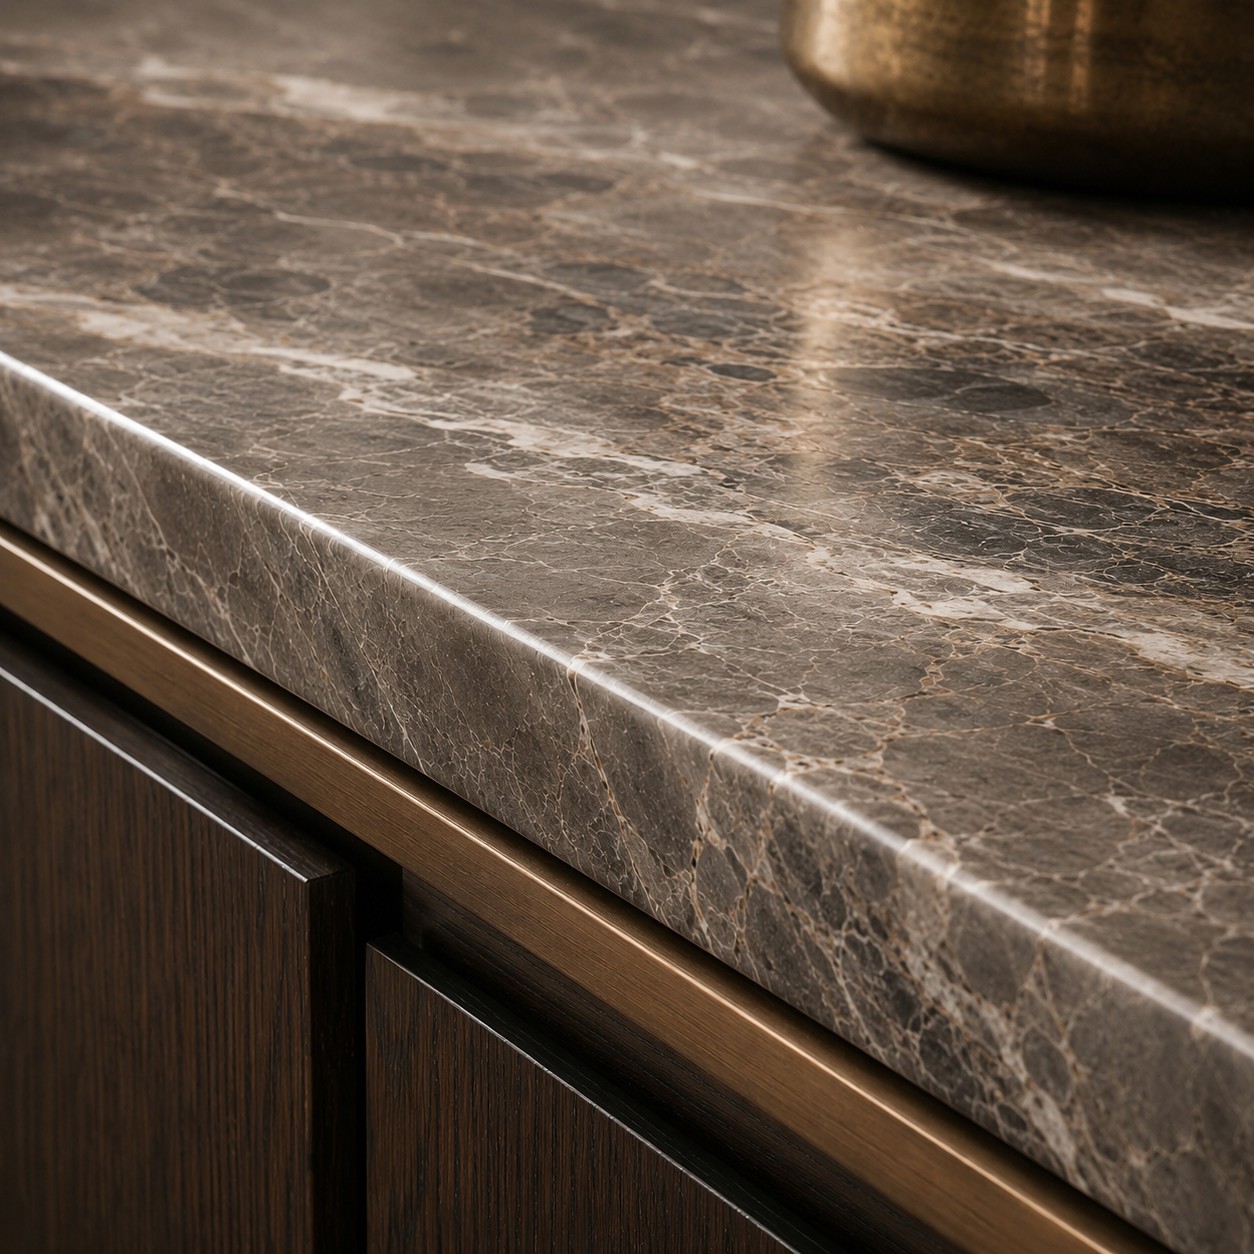
Premium Standard
Natural Marble, Bluestone or Premium Stone
Chosen for authentic veining, visual depth, and a refined surface that brings quiet luxury and natural character into the room. |

Typical Alternative
Printed Stone-Look or Flat Artificial Surface
Often lacks natural variation and depth, with repeated patterns and a flatter appearance in person. |
| Upholstery & Cushioning |

Premium Standard
Top-Grain Leather, Premium Fabric & Supportive Cushioning
Selected for a refined hand feel, comfortable support, and long-term appearance, with upholstery options such as top-grain leather, premium fabric, and supportive cushion construction. |

Typical Alternative
Basic Synthetic Upholstery
May wrinkle, pill, flatten, or lose its original texture more easily with daily use. |
| Hardware & Glides |
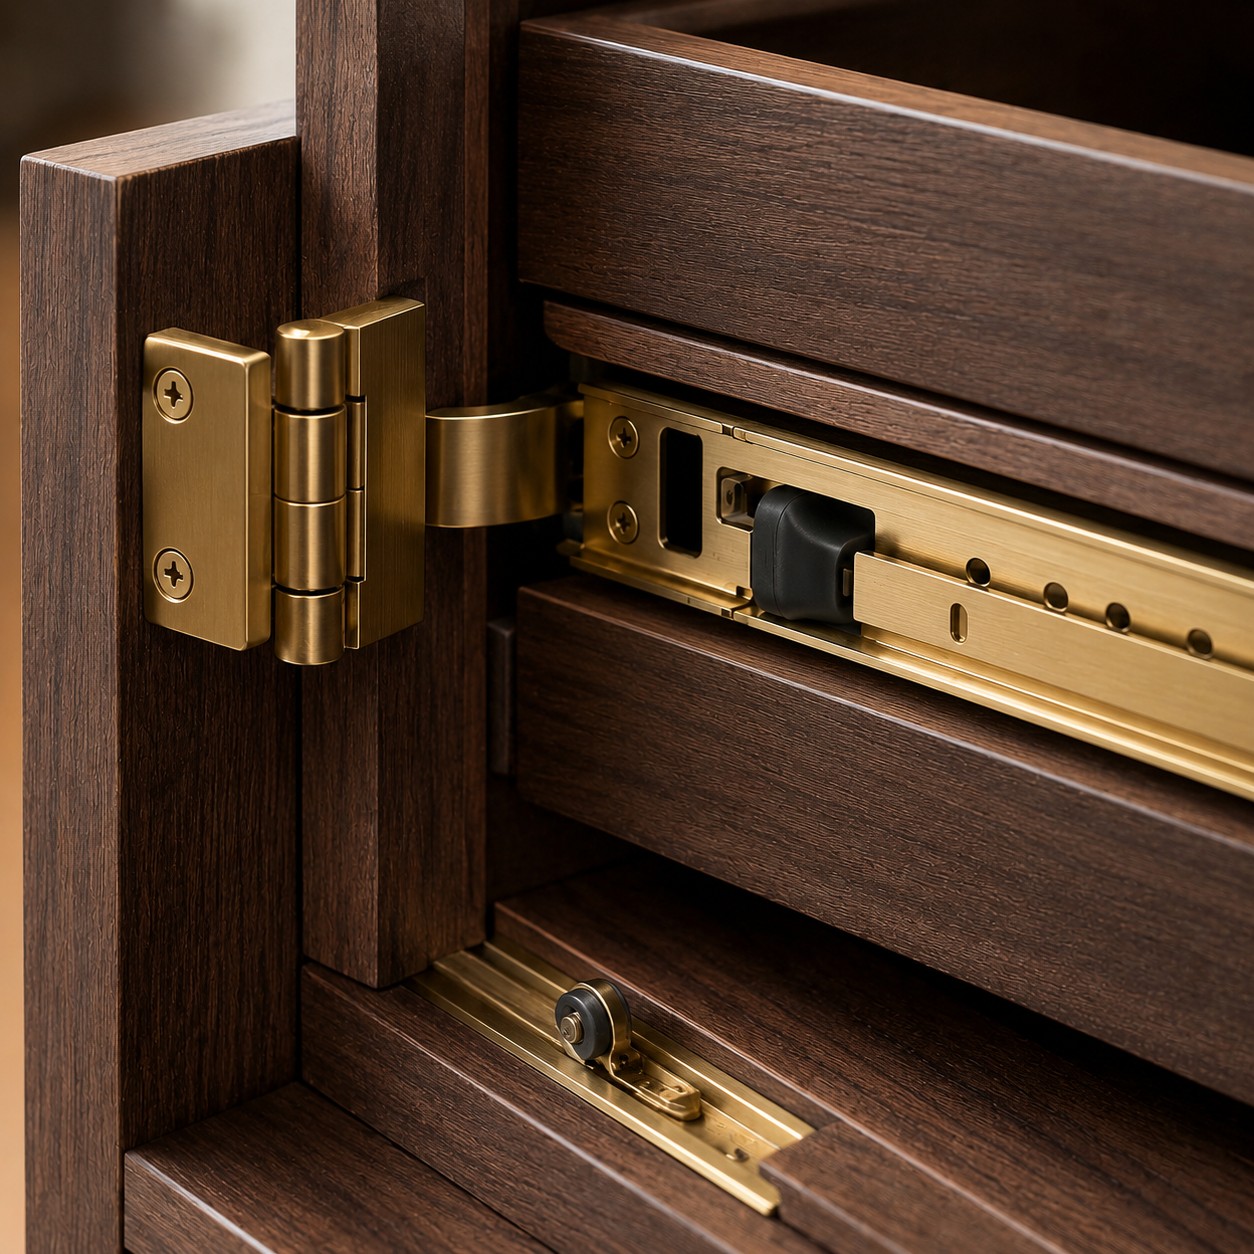
Premium Standard
Brass-Finished Hardware & Smooth Soft-Close Glides
Built for reliable everyday performance, smoother drawer movement, and stronger support in frequently used pieces. |
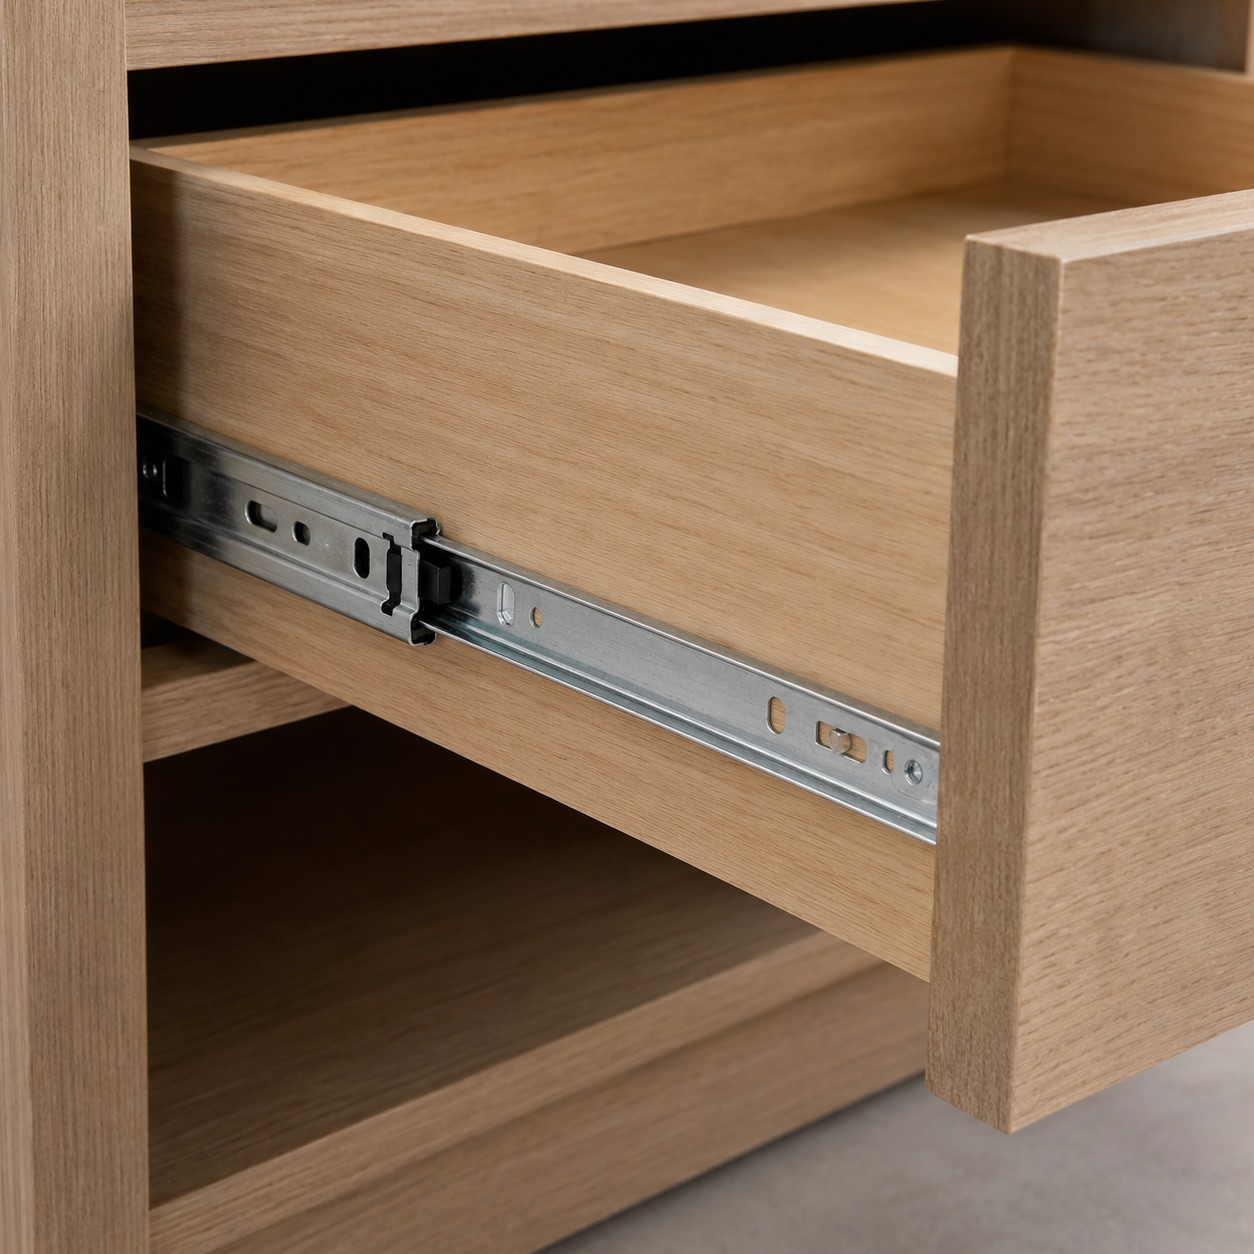
Typical Alternative
Basic Metal Fittings or Exposed Drawer Rails
Can feel more utilitarian, less integrated, and less satisfying in daily use over time. |
| Surface Finish |
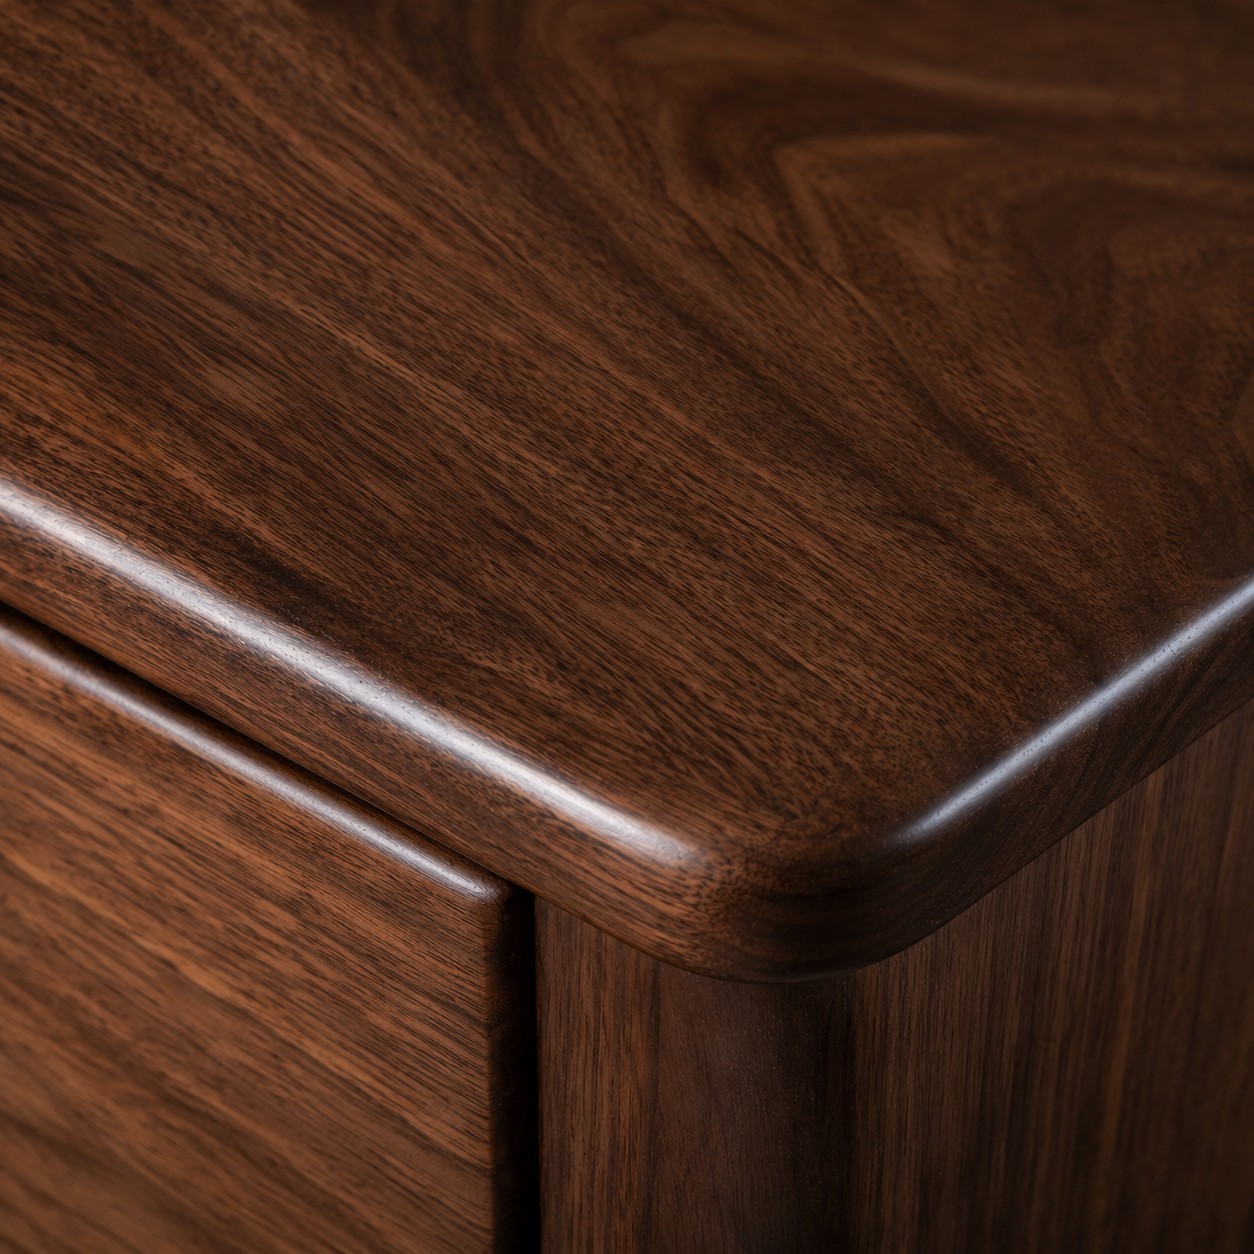
Premium Standard
Hand-Applied, Sanded & Protective Finish
Designed to enhance tone, depth, and texture while creating a smoother touch and a more luxurious final appearance. |

Typical Alternative
Basic Coating or Flat Surface Finish
Often appears flatter or more artificial, with a higher chance of visible wear over time. |