22% Off Storewide — Code FL22 | 25% Off $3,999+ | 28% Off $7,999+ | Free Standard U.S. Shipping

Cart

Your cart is currently empty.

Continue shopping
You May Also Like

1 / 18

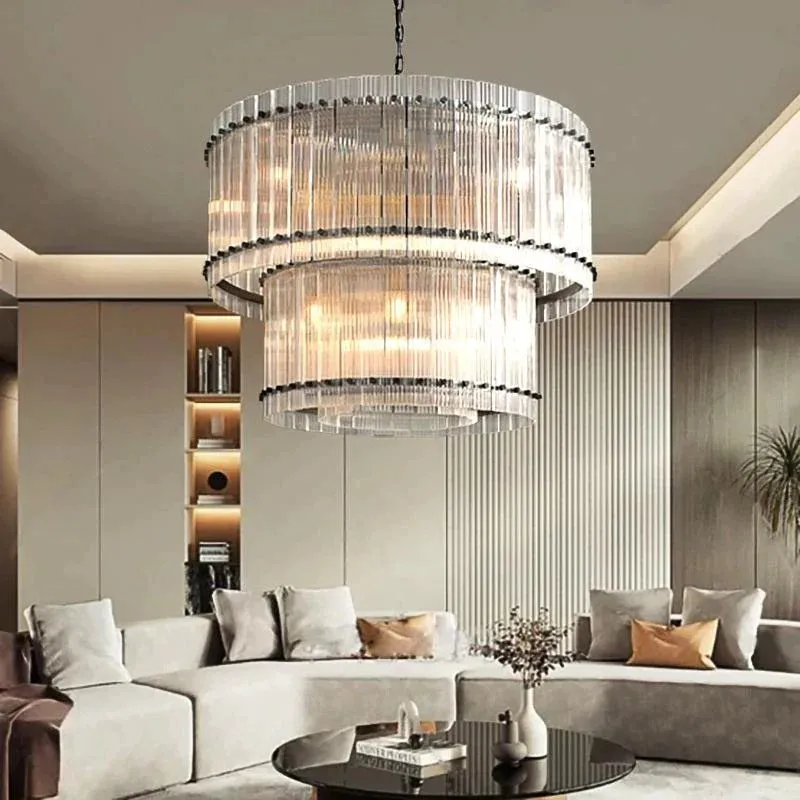
Camona Vintage Filament Outdoor Round Chandelier

$1,538.00 USD $1,858.00 USD Save $320.00 USD
Free Standard U.S. Shipping — All Duties & Taxes Included
Preferred savings

Save 22% at checkout

Enter this code at checkout. It is not applied automatically.

Color
Size
Quantity

Product & Service Details

  • Bulbs Included Where Specified Included only when stated in the product specifications.
  • Electrical Components Component certifications are listed where applicable.
  • 3-Year Limited Warranty Coverage terms and exclusions apply.
  • Complimentary Standard U.S. Shipping All duties & taxes included.
  • Design Concierge Product and project guidance before you order.
  • 30-Day Eligible Returns Terms and exclusions apply.

Product Details

The Camona Vintage Filament Outdoor Round Chandelier arranges filament-style LED bulbs around an open iron ring, with each bulb enclosed in an individual clear glass sleeve. Slender angled supports rise toward the central suspension, giving the Matte Black frame a defined architectural outline while preserving open sightlines through the fixture.

Available in nominal 39-, 51-, and 63-inch sizes, Camona provides progressively wider rings with 18, 24, and 30 lights. The included 2700K bulbs create a warm lighting atmosphere above covered outdoor dining tables, protected porch seating, and sheltered entertaining areas.

Dimensions:

39" Chandelier

  • Fixture Assembly: 39½" diam. × 25¾"H
  • Minimum Overall Hanging Height: 29"
  • Maximum Overall Hanging Height: 101"
  • Electrical Wire Length: 136"
  • Approximate Product Weight: 37 lbs.

51" Chandelier

  • Fixture Assembly: 51½" diam. × 31¾"H
  • Minimum Overall Hanging Height: 35"
  • Maximum Overall Hanging Height: 107"
  • Electrical Wire Length: 144"
  • Approximate Product Weight: 47 lbs.

63" Chandelier

  • Fixture Assembly: 63½" diam. × 38¼"H
  • Minimum Overall Hanging Height: 41½"
  • Maximum Overall Hanging Height: 113½"
  • Electrical Wire Length: 144"
  • Approximate Product Weight: 57 lbs.

Shared Canopy & Suspension Dimensions

  • Canopy: 5¼" diam. × 1¼"H
  • Included Extension Rods: Two 6", two 12", and two 18" sections
  • Ring Body Height with Bulbs: 7"

Fixture-assembly height includes the ring and lower angled supports but excludes the upper extension rods and ceiling canopy. Overall hanging height is measured from the ceiling to the lowest point of the fixture. The size names are nominal; exact diameters are listed above. Product weights are approximate and exclude packaging.

Product Details:

Light Source

  • Fixture Type: Single-tier outdoor ring chandelier
  • Number of Lights: 18 for the 39" size; 24 for the 51" size; 30 for the 63" size
  • Bulb Base: E12 candelabra base
  • Recommended Bulb: Tubular filament-style LED
  • Maximum Wattage per Socket: 15W
  • Bulbs Included: Yes — a complete set of complimentary compatible dimmable E12 filament-style LED bulbs
  • Included Bulb Color Temperature: 2700K warm white

Electrical & Installation

  • Dimmable: Yes
  • Voltage: 110–120V for US/Canada
  • Power Type: Hardwired
  • Sloped Ceiling Compatible: Yes
  • Intended Installation Environment: Indoor and covered outdoor damp locations
  • Assembly Required: Yes

Materials & Construction:

  • Frame Material: Iron
  • Frame Finish: Matte Black
  • Bulb Protection: Individual clear glass sleeves
  • Frame Design: Open, single-tier circular ring
  • Suspension: Upper metal extension rods with angled ring supports

The upright light sources follow the circumference of the ring, creating a continuous rhythm without enclosing the center beneath a solid shade. Clear glass sleeves retain the visible filament appearance while surrounding each bulb.

Angled supports connect the ring to a central hub above it. The upper extension rods provide the adjustable portion of the suspension, allowing the complete fixture to be positioned for the selected ceiling height.

Application:

Position Camona above a dining table on a covered patio or veranda, or use it to define a protected porch seating arrangement. The open ring provides substantial scale without a broad opaque shade blocking views across the space.

Select the diameter alongside the furniture footprint, ceiling beams, and surrounding clearances. The 63-inch version requires a generously proportioned setting and additional handling and structural planning. All sizes are intended for sheltered installations rather than locations exposed to direct rain or wind-driven weather.

Shipping & Warranty:

  • Warranty: 3-Year Limited Warranty
  • Shipping: Free Shipping on All Orders

For current availability, shipping options, and a project-specific delivery window, please contact our Lighting Concierge Team.

Installation & Notes:

  • Professional Installation: This fixture is hardwired and must be installed by a licensed electrician in accordance with applicable local electrical codes.
  • Hanging Height & Assembly: Select the upper extension-rod combination before installation. Assemble the lower supports according to the supplied diagram and keep the complete installed drop within the range specified for the selected size.
  • Sloped Ceilings: The suspension supports sloped-ceiling installation. Coordinate the canopy position, connection alignment, and clearance beneath the ceiling before mounting.
  • Bulbs & Dimming: Install the glass sleeves securely around the bulbs. The included LED bulbs are dimmable; use a compatible LED wall dimmer and replacement bulbs within the fixture’s marked wattage limit.
  • Structural Support: Secure the fixture and supplemental safety cable to suitable structural support. The 63-inch version requires additional ceiling reinforcement independent of an ordinary electrical junction box.
  • Protected Outdoor Placement: Install beneath a permanent protective covering. Do not expose the fixture to direct rain, wind-driven rain, standing water, or pressure washing.

Switch off the electrical supply and allow the bulbs to cool before cleaning or replacement. Dust the frame, glass sleeves, and suspension hardware gently with a soft, dry cloth. Avoid abrasive cleaners, harsh chemicals, and metal polishes. Periodically remove accumulated surface residue and have damaged glass or electrical components addressed before further use.

Any non-listed diameter, finish, or suspension configuration must be agreed before ordering, with the installation environment included in the project requirements.

Need Design Guidance?

Our Lighting Concierge Team can help with diameter selection, outdoor dining and seating proportions, rod configuration, overall hanging height, sloped-ceiling placement, bulb compatibility, and structural-support planning.

Email: support@fullstarlighting.com

Size & Placement Guide

Fullstar size + placement guide

Find the right scale, step by step

Choose the room or site anchor, tune the proportions to the architecture, and verify the exact installation conditions before ordering.

  1. 1SpaceWhere will it live?
  2. 2ScaleWhat anchors it?
  3. 3InstallWhat must be verified?

Choose your setting

Indoor room or outdoor architecture?

Indoor Tables · islands · stairs · walls
Outdoor Entries · porches · piers · gates
Step 01

Start with the room anchor

Scale a chandelier to the furniture zone and the important sightlines—not the entire floor plate.

Dining table

Dining room

Start here: 30–36 inches above the table; begin near one-half to two-thirds of the table width.

Check normal and extended table positions, seated views, artwork, and walk paths. An extra-long table may suit a linear fixture or a balanced pair.

Kitchen island

Kitchen island

Start here: 30–36 inches above the counter; keep a linear fixture roughly 6–12 inches inside each end.

Calculate multiple-pendant spacing from the actual shade diameter. Protect range-hood, cabinet-door, seating, and sightline clearances.

Grand stair · open plan

Architectural volume

Start here: protect at least 7 feet of walk-path headroom; use room size only as an initial scale check.

Check upper and lower approaches, landing and railing clearances, windows, and adjacent fixtures. Size to the furniture zone—not the entire open floor plate.

Start near 60–65 in. to center for side sconces; keep overhead bars about ¾ mirror width.

Bathroom · vanity

Mirror lighting

Start here: place paired side sconces near eye level and align them to the user, mirror, and vanity.

Confirm projection, mirror width, double-vanity centers, and the actual wet- or damp-location zone. Even facial light matters more than one rigid mounting number.

Step 01

Start with the surface below

Set the pendant from the counter, table, or bedside zone, then check reach and sightlines.

Kitchen island

Multiple pendants

Start here: 30–36 inches above the counter and about 24–30 inches center to center.

Distribute the remaining space evenly and recheck spacing against the actual shade diameter, hood, doors, and seated views.

Dining table

Dining pendant

Start here: position the lowest point about 30–36 inches above the tabletop.

Scale to the tabletop, check normal and extended positions, and keep conversation sightlines clear.

Bedside

Reading pendant

Start here: a shade bottom about 18–24 inches above the nightstand is a useful first check.

Confirm reading height, reach, bed and headboard proportions, glare, and switch access before fixing the electrical box.

Step 01

Start with overhead clearance

Low-profile fixtures protect circulation while still respecting the room’s scale and rhythm.

Walk paths

Low ceilings & clearances

Maintain at least 7 feet from the finished floor to the fixture’s lowest point in walk-through areas.

Check nearby doors, tall furniture, stair approaches, and any location where people carry large objects.

Room proportion

Room scale

Add room length and width in feet and use the total in inches as an approximate diameter.

Treat the formula as a proportion check only; ceiling condition, furniture zone, and the exact fixture profile still govern.

Hall + passage

Rhythm without obstruction

Keep fixtures inside the hall width, clear of door swings, and visually consistent around openings.

For repeated fixtures, establish a rhythm only after breaks, artwork, and adjacent rooms are known.

Step 01

Start with the person and architecture

Mounting height is secondary to eye level, mirror proportions, projection, circulation, and glare control.

Entry + hallway

Wall rhythm

Begin around 60–72 inches to center, then align to doors, artwork, eye level, and the repeated architectural rhythm.

Verify projection, narrow circulation, door swing, and comfortable spacing between multiple sconces.

Start near 60–65 in. to center for side sconces; keep overhead bars about ¾ mirror width.

Bathroom + vanity

Even light around the mirror

Use paired side lights near eye level for facial light, or size an overhead bar to the mirror rather than the whole vanity.

Check user height, mirror width, double-vanity centers, fixture depth, and the exact damp- or wet-location zone.

Bedside + reading

Comfortable reach

Place the light source near seated eye level and within easy reach from the bed or chair.

Check shade projection, headboard height, switch access, glare, and whether the fixture can be serviced without moving major furniture.

Step 01

Start with the artwork

Size and aim the light to the framed surface, then refine the beam to control glare.

Artwork width

Proportion to the frame

Begin with a shade around one-half the width of the artwork and center it precisely.

Large frames, deep frames, and gallery groupings may need a different beam spread than the simple width rule suggests.

Beam angle

Aim, then fine-tune

Start near a 30-degree angle and adjust for even coverage and reduced reflected glare.

Artwork material, glass, frame depth, wall texture, and viewer position can change the final aim.

Step 01

Start with the outdoor anchor

Scale to the architecture and approach, then verify the real exposure, glare, and circulation conditions.

01
Paired front-door lanterns

Scale to the door and entry architecture. Check trim, swing, house numbers, cameras, eye-level glare, and the view from the drive.

02
Covered entry or porch

Protect walk-path headroom and check canopy, door movement, weather exposure, slope, and the exact permitted mounting orientation.

03
Outdoor pendant

Center on the entry or seating zone. Coordinate wind, chain or rod length, structural support, ceiling slope, and product-specific clearance.

04
Post, pier, or gate light

Scale to the column, pier, or gate. Confirm mounting, wiring, glare, vehicle approach, pedestrian views, and landscape growth.

Step 02

Tune for the architecture

Use the first measurement as a draft, then adjust for ceiling condition, circulation, exposure, and service.

01
High ceilings

Adding about 3 inches per extra ceiling foot is only a starting adjustment for a fixture over a table or counter—not a universal rule for the fixture body, foyer, stair, or open-room drop.

02
Vaulted + sloped

Confirm the exact product is slope-rated and can level with its canopy, chain, rod, or cord. Verify total drop, ceiling angle, support, and fixture orientation.

03
Hall + flexible layouts

Check sconce projection, door swings, narrow circulation, artwork, and visual rhythm. For expandable tables, verify both normal and extended positions.

04
Damp + wet safety

Use only the exact listed rating and installation orientation for the real exposure. Manufacturer instructions, local code, and the licensed installer take priority.

Step 03

If the fixture is outdoors

Covered spaces still need an exposure check. A roof does not automatically make a location dry.

01
Front door

Coordinate paired lanterns with trim, swing, numbers, cameras, glare, and arrival views.

02
Covered ceiling

Check headroom, canopy, slope, weather movement, door clearance, and the exact listing.

03
Hanging lantern

Verify wind, chain or rod length, structure, ceiling slope, and service access.

04
Post, pier, or gate

Coordinate scale, mounting, wiring, vehicle approach, pedestrian views, and landscape growth.

This product is following the outdoor path above. Confirm its exact damp- or wet-location listing, permitted orientation, finish care, mounting surface, wiring route, and service access.

Exposure note: Use only the exact product and installation orientation permitted by its listed damp- or wet-location rating and manufacturer instructions. Avoid universal outdoor height rules.

Step 04

Verify the exact product

The design only becomes an installation plan after the selected fixture and structure have been checked.

Fixture + structure

Confirm before checkout
  • Overall height range, canopy or backplate, chain, cord, or downrod
  • Fixture weight and ceiling-box or structural support
  • Exact sloped-ceiling compatibility and permitted orientation
  • Wire length, electrical components, doors, hoods, windows, and artwork
  • Product instructions, local code, and licensed-installer review

Service access

Plan for the life of the light
  • Cleaning and relamping reach
  • Driver, bulb, and dimmer access
  • Chandelier lift where appropriate
  • Wire slack, canopy, fixture weight, and support
  • Future hospitality, access, and furniture changes

Shipping & Delivery

Returns & After-Sale Support

FAQs

Customization

Product material guide

Materials & Craftsmanship

Materials and construction vary by design. Please review the product specifications for the exact materials, finish, dimensions, light-source requirements, and electrical details of this fixture.

Material detail Collection materials Specification check
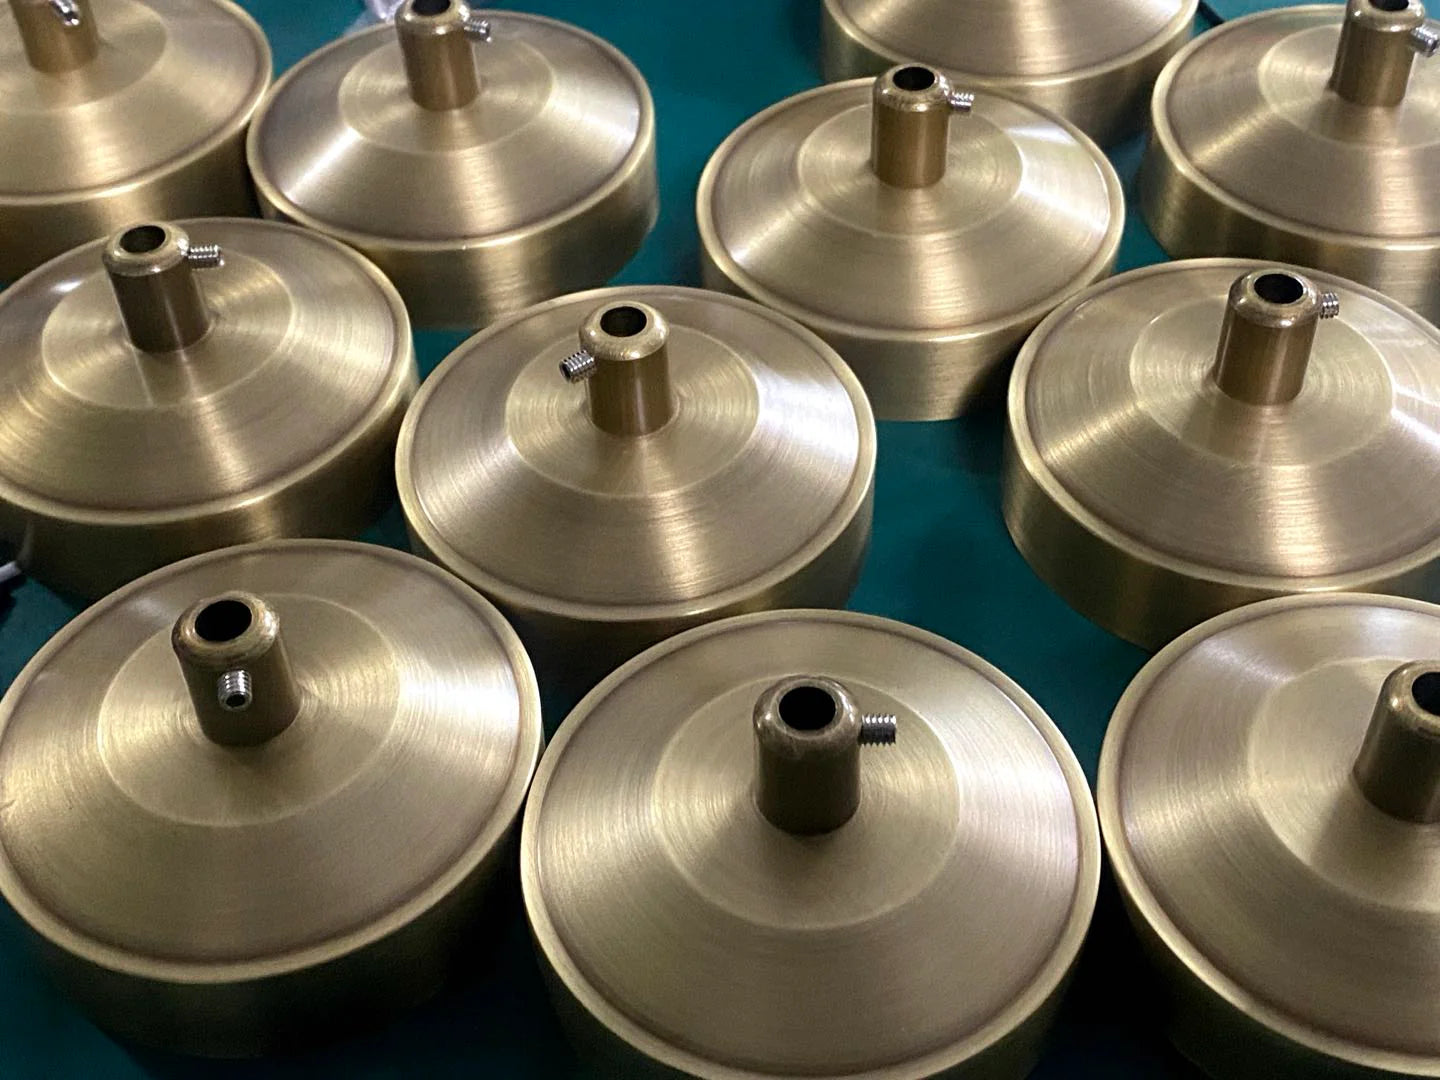
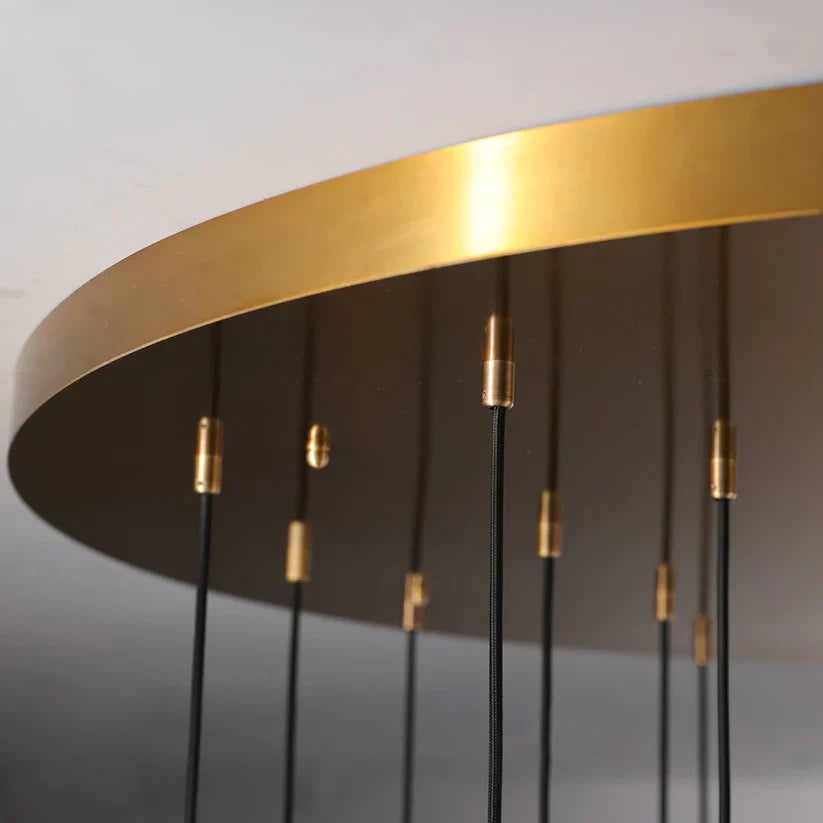
01 Frame & Finish
Lighting frame and metal finish detail
Where specified

Brass, Steel & Aluminum

Base metal, fabrication, and finish vary by design. Selected pieces may use solid-brass components, steel, aluminum, or mixed-metal construction where specified.

Confirm on this piece
  • Base metal
  • Finish and color
  • Care requirements
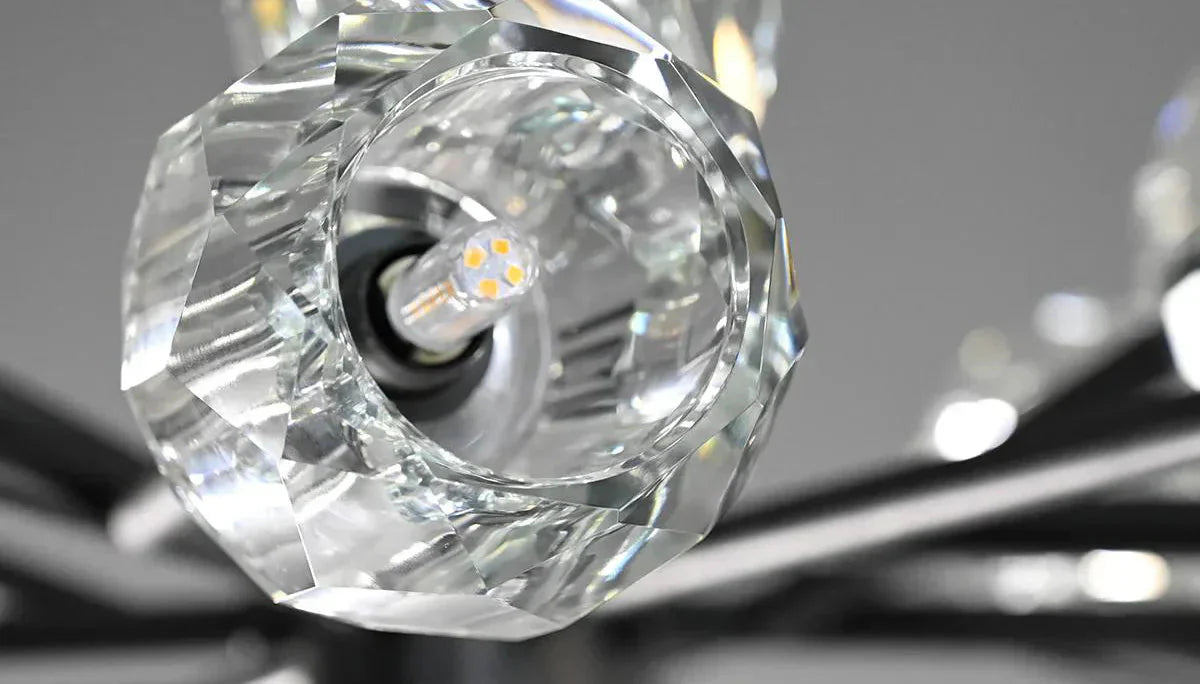
02 Crystal
Crystal lighting material detail
Where specified

Crystal Options

K9 crystal and other crystal types are used on selected designs. Cut, clarity, and configuration are listed in Product Details where applicable.

Confirm on this piece
  • Crystal type
  • Drop configuration
  • Replacement options
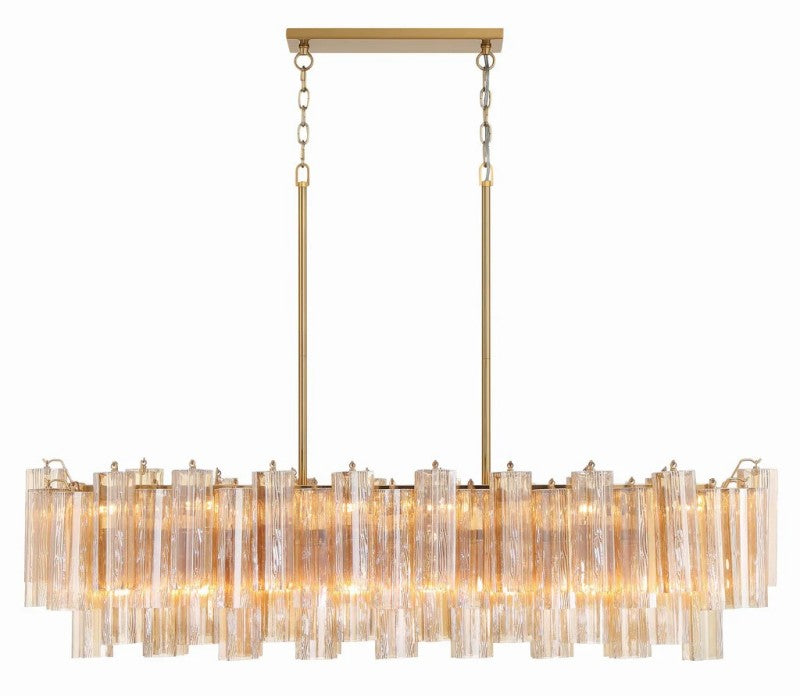
03 Glass & Shade
Glass and shade material detail
Where specified

Glass, Alabaster & Fabric

Hand-blown glass, molded glass, alabaster, fabric, and other shade materials are used according to the design. Natural and hand-finished materials may vary.

Confirm on this piece
  • Shade material
  • Color variation
  • Bulb requirements
04 Surface Finish
Lighting surface finish detail
Where specified

Polished, Brushed & Antiqued Finishes

Finishing methods vary by model and may include polishing, plating, painting, brushing, antiquing, or protective coating.

Confirm on this piece
  • Finish method
  • Cleaning guidance
  • Indoor or damp rating

Depending on the design, a fixture may use brass, steel, aluminum, glass, crystal, stone, alabaster, fabric, or other materials selected for its structure and intended use.

Finishes may be plated, painted, patinated, polished, brushed, or hand applied. Glass, crystal, stone, alabaster, metalwork, and hand-applied finishes may display subtle variations in color, texture, shape, veining, or tone.

Review the product page for voltage, bulb base, maximum wattage, dimming, and certification information. Product-specific specifications control if they differ from this general guidance.

01 Material detail Frame & Finish
Lighting frame and metal finish detail
Where specified

Brass, Steel & Aluminum

Base metal, fabrication, and finish vary by design. Selected pieces may use solid-brass components, steel, aluminum, or mixed-metal construction where specified.

Confirm on this piece
  • Base metal
  • Finish and color
  • Care requirements
02 Material detail Crystal
Crystal lighting material detail
Where specified

Crystal Options

K9 crystal and other crystal types are used on selected designs. Cut, clarity, and configuration are listed in Product Details where applicable.

Confirm on this piece
  • Crystal type
  • Drop configuration
  • Replacement options
03 Material detail Glass & Shade
Glass and shade material detail
Where specified

Glass, Alabaster & Fabric

Hand-blown glass, molded glass, alabaster, fabric, and other shade materials are used according to the design. Natural and hand-finished materials may vary.

Confirm on this piece
  • Shade material
  • Color variation
  • Bulb requirements
04 Material detail Surface Finish
Lighting surface finish detail
Where specified

Polished, Brushed & Antiqued Finishes

Finishing methods vary by model and may include polishing, plating, painting, brushing, antiquing, or protective coating.

Confirm on this piece
  • Finish method
  • Cleaning guidance
  • Indoor or damp rating

Depending on the design, a fixture may use brass, steel, aluminum, glass, crystal, stone, alabaster, fabric, or other materials selected for its structure and intended use.

Finishes may be plated, painted, patinated, polished, brushed, or hand applied. Glass, crystal, stone, alabaster, metalwork, and hand-applied finishes may display subtle variations in color, texture, shape, veining, or tone.

Review the product page for voltage, bulb base, maximum wattage, dimming, and certification information. Product-specific specifications control if they differ from this general guidance.